Tag Archives: My DIgital Studio

Dabbling in Mixed Media

Standard

So…  I needed a little pick me up for some one.  My sister has been dealing with a health issue that docs say isn’t a big deal, but to her and those of us around her, seems to be quite scary.  And, getting through all of it is a process.  So, I wanted to do something or make something that I could send her… and that is difficult, being 5,000 miles away…

BUT.  I kept hearing this song on the radio that I truly believe God gave to me to be a prayer for her.  And, the radio seemed to play it ALL the time, so it was a good reminder for me to pray for her and her family.

I decided to make a picture frame, with some of the words of the song in the frame.  I had these frames lying around (I bought them for another project, which is only about a 1/10 of the way started…that will be for another post.)

Anyway, I love these frames.  They are made from MDF (and I have no idea what that means, but it’s the same stuff our baseboards are made of… it’s wood-like, but not real wood) and MDF is super smooth so it’s easy to paint.

I apologize for the pics, that they are sideways, but it’s just the painting process so I decided to not figure out how to change it… 🙂

So, the MDF is a wood-like color…

image

And, I slopped some brown paint on it cause I wanted brown to show through some white paint…

wpid-20150201_164628.jpg

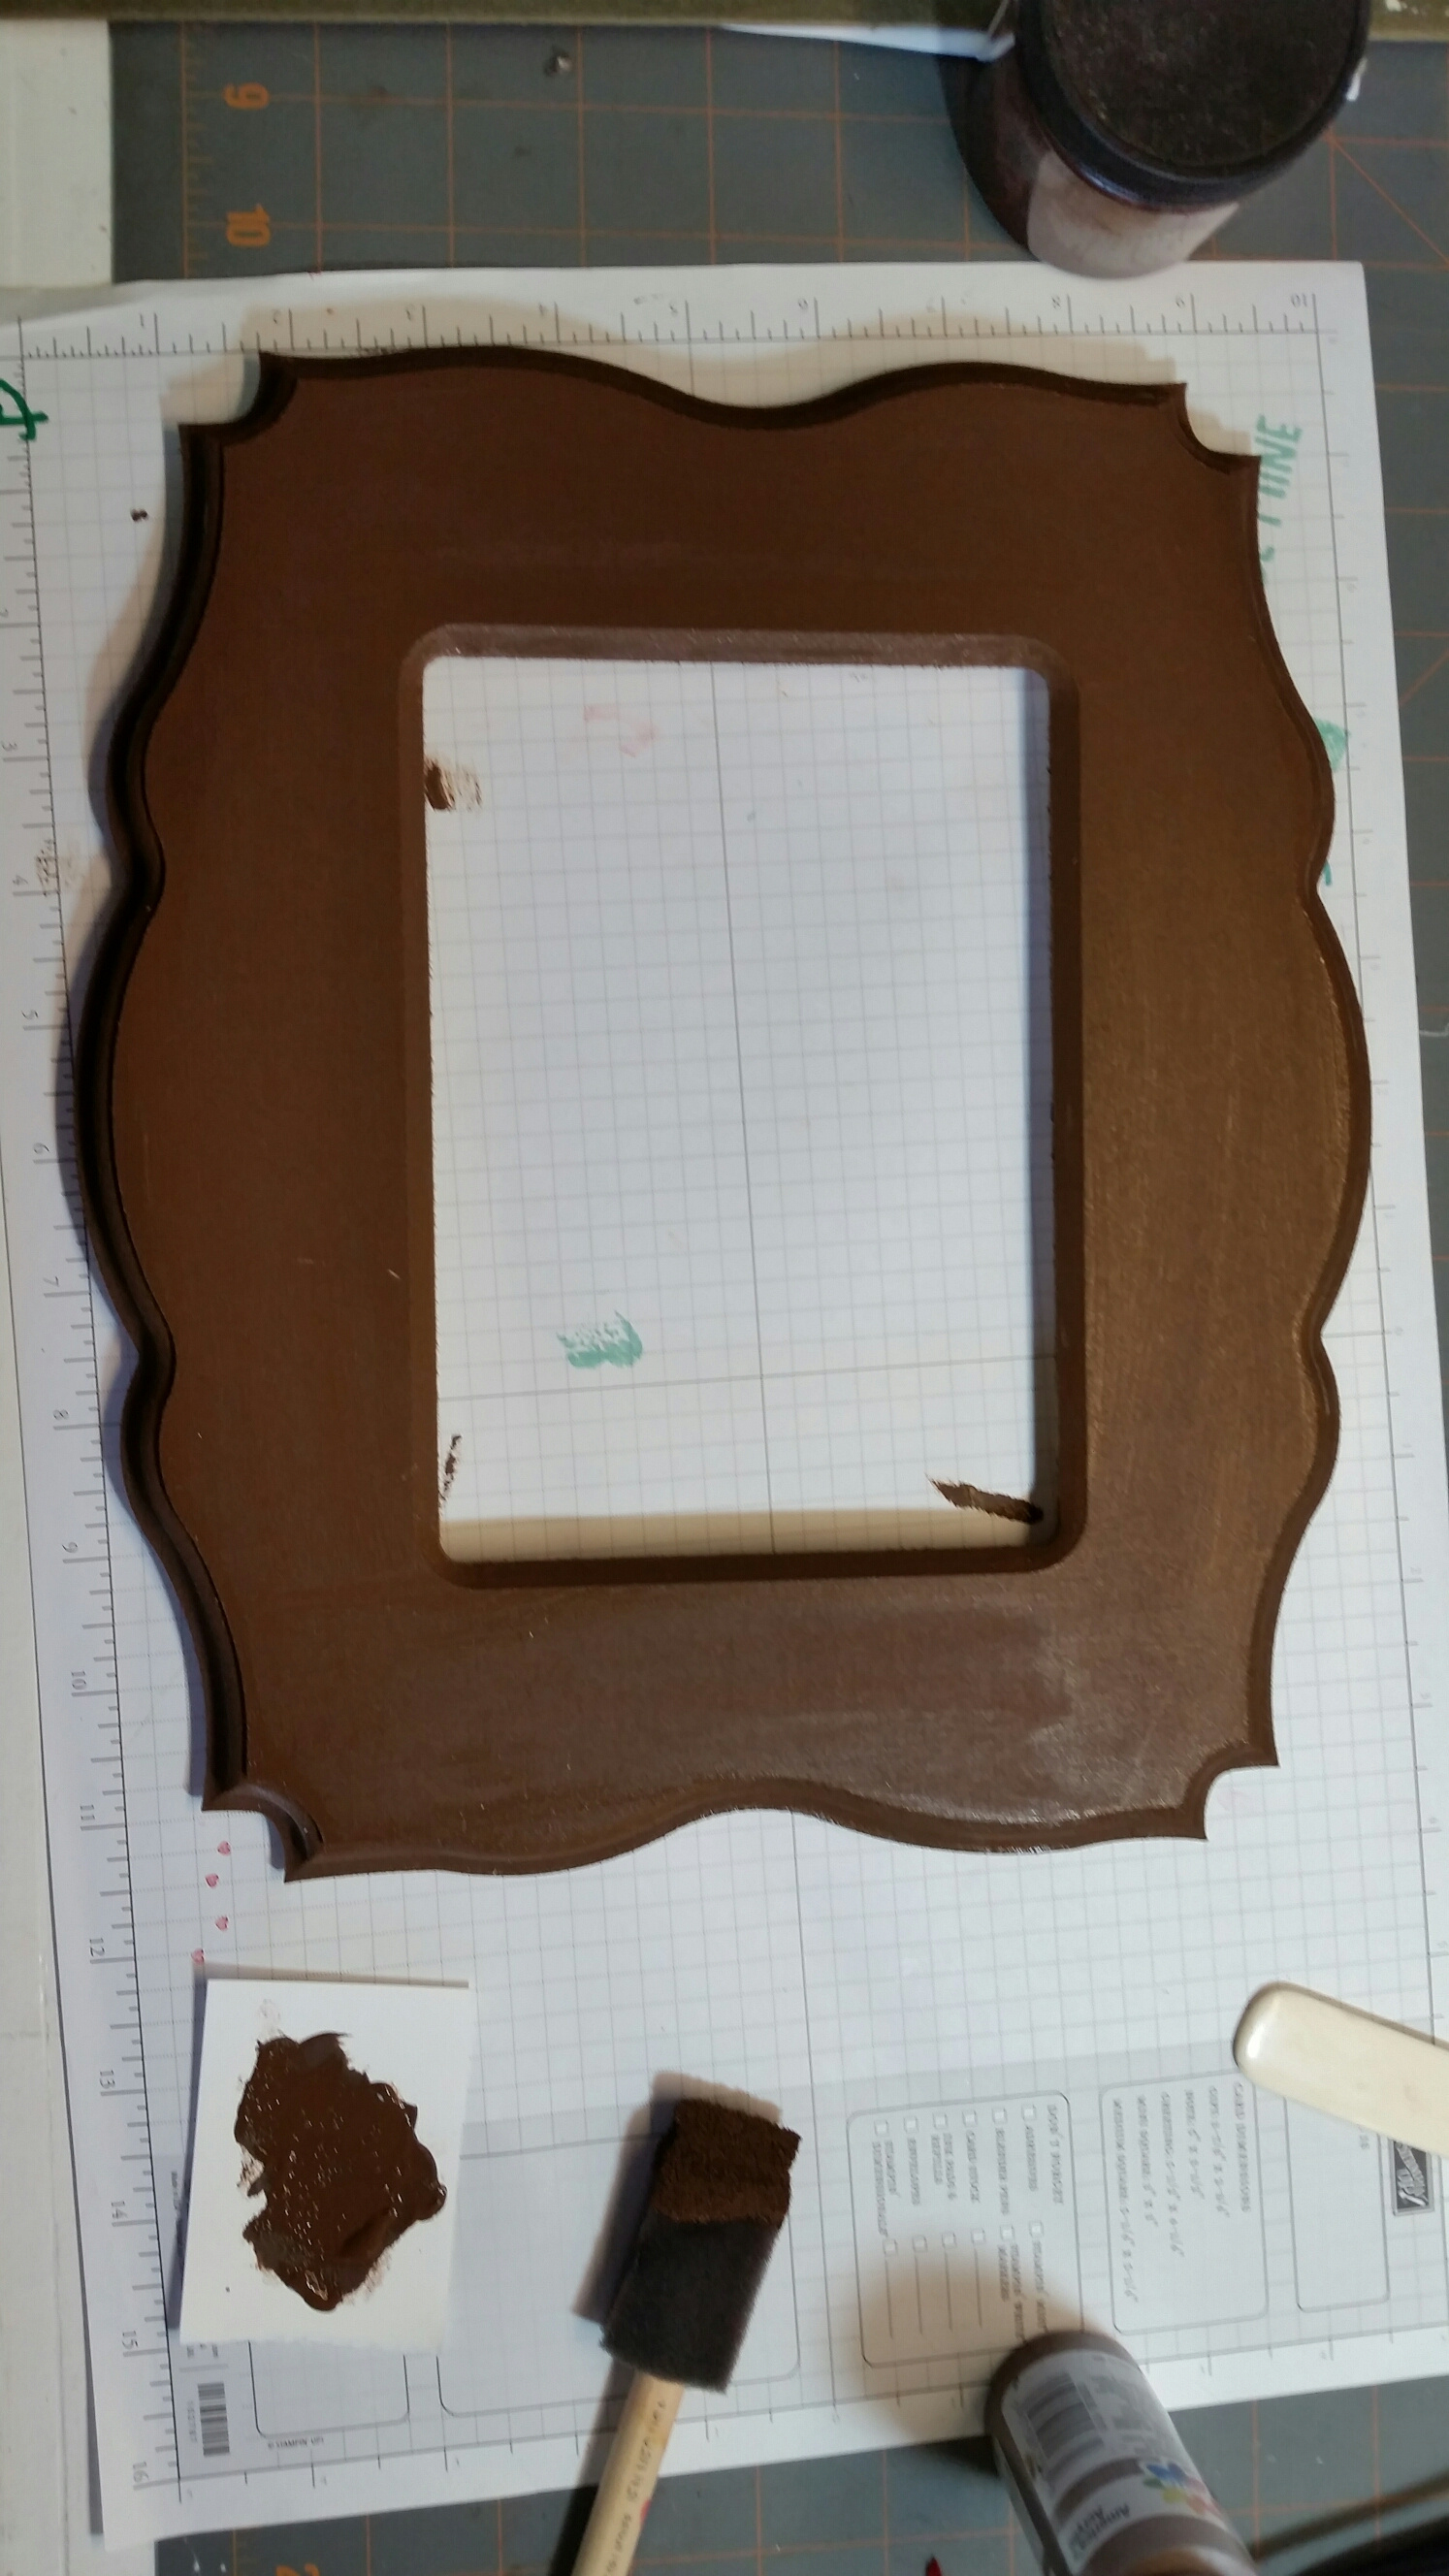
And, then I coated it with a cream colored chalk paint.  I love chalk paint.  Cause it’s super easy.  I used a wet rag to rub the edges off so you see some of the brown through…

image

And here you go… I decided instead of spraying it with a clear coat, I wanted to use some of the waxing cream.  I am a fan of the CeCe Caldwell waxing cream…image

This is the finished product!!  I made the insert using My Digital Studio… and just had a picture printed at walgreens cause I was too impatient to wait for for MDS to arrive…image

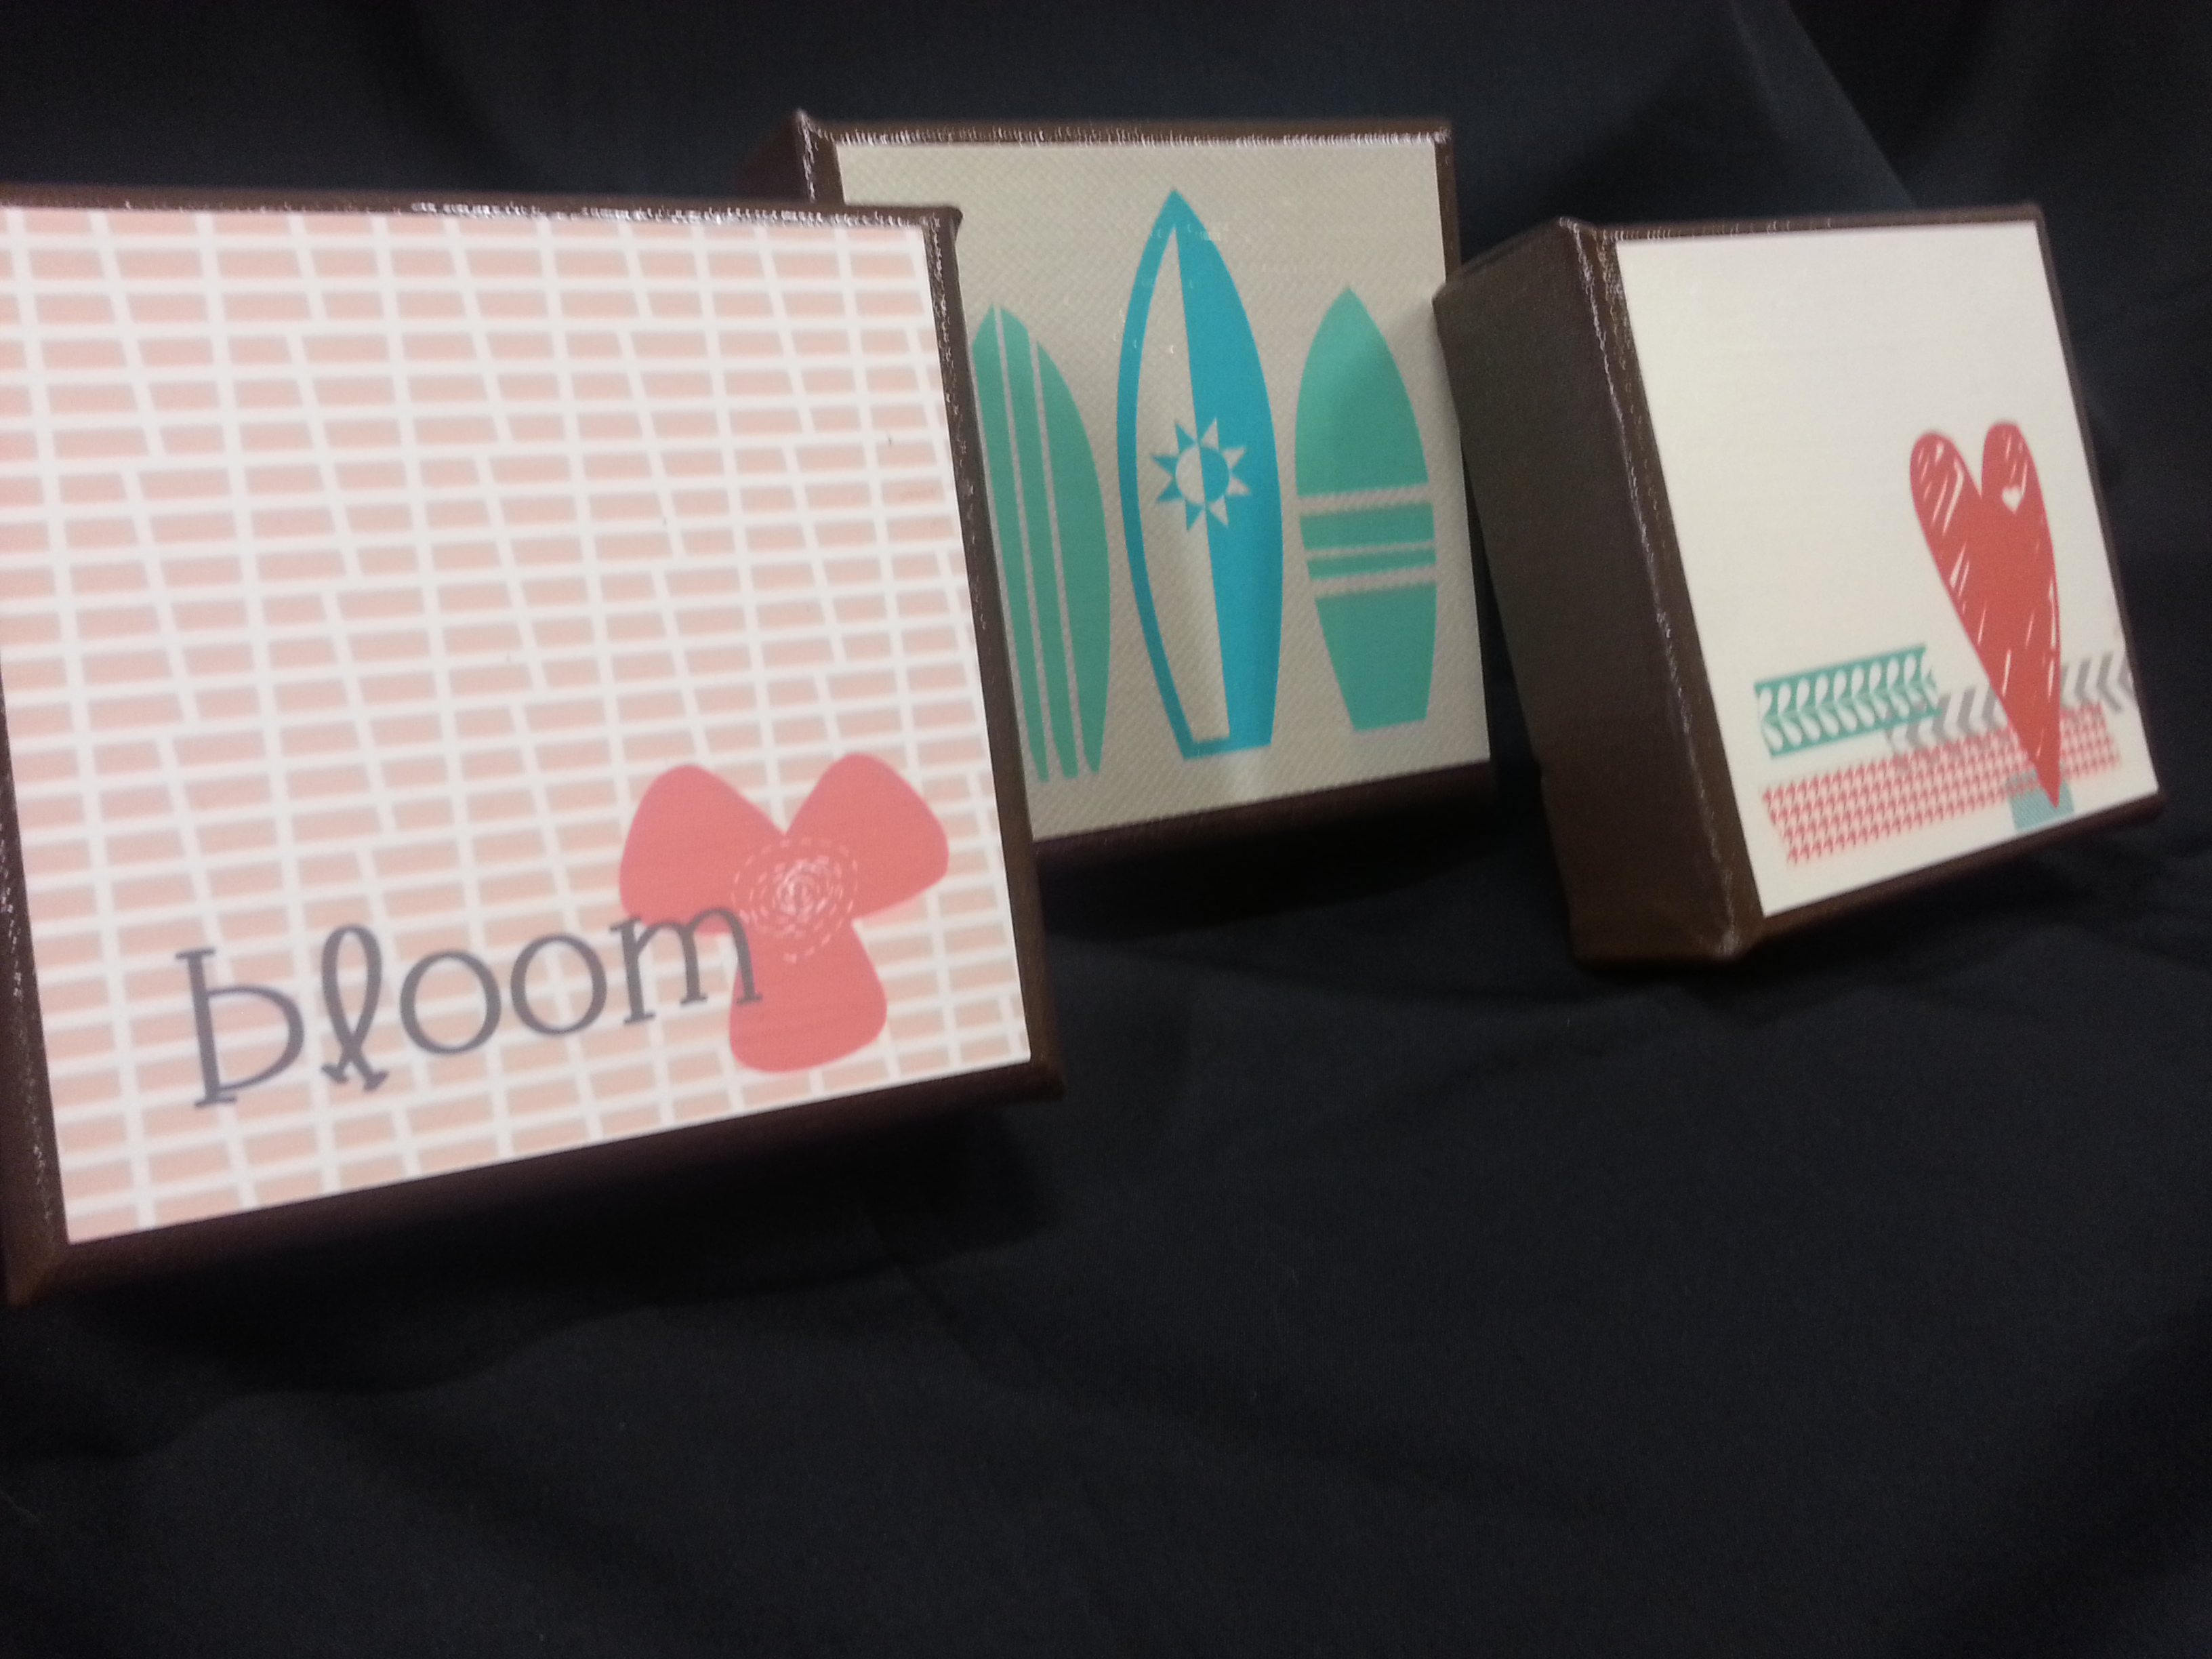
I made a few paper flowers in the decor to match her house to add as embellishment.  These are the colors that are in her house.image

imageHere it is in her house…

20150331_084115

And final, a finished product…

imageAnd, sis… we are all still praying for you… that God will provide continual healing and that He will show you beyond your depth of your understanding that HE IS holding on to you…

Advertisement

Change

Standard
Change

I guess they say that the only constant is change.  And, CHANGE IS A COMIN’.  There is a lot of changing going on around here.  Namely that my craft room, right now, looks like this:  (this is super embarrassing)20140213_062519

And, this is where it is going, thanks to my wonderful, hardworking husband. But, it’s not quite finished.  So, I can’t move in  yet…

20140213_062704

And, this is the reason for the HUGE change:

20131029_141617

They are now much bigger than in this picture, but we can’t get one where they BOTH fit in the screen.  Coming Soon.  And, in order to get ready for them, we needed a nursery.  Which means craft room moves…  SOOOO….  today’s post is some Nursery Decor!!  And, you’re getting a sample of an MDS project cause I don’t think I could find a single stamp at this moment…  let alone embellishments and adhesive.  (refer to photo above)

I saw these beautiful, for lack of a better term, tiles, on pinterest.  (OH, pinterest…)  It was an idea for a baby room that had 18 individual blocks with different pictures and geometric prints (these happened to be prints of original artwork).  And, it was super cute.  And, I thought, hummmm… I can do that.  I don’t know if it is my Kansas upbringing, or desire to not spend money (that must not be it, cause I do like to shop) but when I see a craft project I always think:  HUMMMM.  I bet I could make that….  And the challenge was issued…  (Here’s my finished product)

image

In order to make my own tiles, I decided to buy some 5×5 stretched artist canvases.  These happened to be the ‘deep ones’.  (I think they are 1.5″ deep–so they will stick off the wall some).  I painted them with brown acrylic paint.  The cheap stuff you buy for 1.29…

image

I made 18- 4.5×4.5 images in My Digital Studio (I put 4 on a 12×12 layout).  I decided to have them printed through the Stampin’ Up Print services primarily because I don’t have a color printer.  Also, because I knew the colors would be exact and that I could get it on the ‘heavy’ paper.  I think it cost me a total of $15 to print it all…   I trimmed them out and then grabbed a bottle of the “hum…I think I can make that girl’s best friend”:  MODGE PODGE.  And stuck them down.  I put several layers over the top cause I wanted it to have that ‘depth’ and texture that brushing Modge Podge on has…

image

And here are some close ups:

image

I had to vary the images because this Dynamic Duo is made up of one boy and one girl.  And to simplify life, they have to share a space for a while.  (Heck, they are sharing a space now, so I figure they wouldn’t mind.  And, their new space will have much more room. And cute stuff on the walls).

image

I love the tool in MDS that you can recolor embellishments and paper to match whatever you are doing.  I did that a lot with this project…

20140211_193733 (2)

Anyway, my plan is to have 3 rows of 6 tiles on the wall (kind of like the original photo).  I don’t have them up yet, cause there is some prep work to do in the new nursery first.  But, soon…

Anyway, I hope you enjoyed this banners and pennant tour (albeit, not much of a banner or pennant here…. but home decor none the less.)

You are off to see what The Maui Stamper, Anne Matasci made.  Click the icon below:blog-tour-pinworthy-next

Tamra Davis    http://www.theCardLadies.com/loving-the-stampin-up-banners/
Connie Diebler http://www.conniestamps.com/2014/02/february-pinworthy-blog-tour.html


Anne Matasci http://wp.me/pCcBw-1xl
Audra Monk http://thecraftyyogi.blogspot.com/2014/02/garland-banners-and-decorations.html
Maria Pane
Andi Potler  http://www.absolutekreations.com/2014/02/13/remarkable-pinworthy-blog-tour-banners-garlands-pennants-galore


With a dig…dig…diggy… VALENTINE!!

Standard

OOH Today is Valentine’s Day!!

Now, the day hasn’t really made THAT big of an impression on me… but it’s fun when I have a good idea.  And, I like my idea for this year.  If I do say so myself.  Thought of it myself.  Well… most of it.

So, when Isaac was born, people would tell me “He’s ALL boy”.  And, I never really understood exactly what that meant.  Especially I grew up in a FAMILY of girls.  Three sisters.  My husband has TWO sisters.  Then Isaac comes, and as a baby, people are telling me he is a boy.  Duh.  But, as he has been growing…  it’s hitting me like a slap on the forehead.  And on his head (he just got 5 stitches on his eyebrow after a very boyish crash involving a chair, exercise ball… and apparently a mommy who needs to be more careful when she is sweeping… So the BOY says.

ANYWAY… This is what Isaac’s Valentines’ are gonna be:

20130213_215648


It’s a CUP of DIRT AND WORMS!!  Nah, just a cup of crushed graham crackers and gummy worms.  And, I made these tags:

20130213_215457


This comes from the I DIG YOU stamp set.  I markered them, stamped, and cut out.  Used the tiny brads to put on the wheels and then put them on the large tag from the two tags die.  This was cut from the early espresso core’dinations paper, embossed and sanded (sorry… paper isn’t available anymore.  email SU… to tell them they need to re-release it.)  I found these tiny shovels on amazon to add to the tag.  (Isaac LOVES shovels).

20130213_222025


This is the finished product.  Put lids on the dirt cups and tied in a bag.  I LOVE the new Natural Trim ribbon (Spring Occasions Catalog).  It has the look and weave of burlap but is a lot softer and easy to use.

Here is the mess of them:

20130213_222058


This is what inspired the diggy valentine…

20130126_115243

The stamp set is a MUST have for all proud BOY families.

And, being we have family all over the country, I had to make a valentine to send away.  This is what the family on the mainland got:  (I created it in My Digital Studio).  It doesn’t have a diggy theme, but was too cute to pass up…

valentine-001


and back:

valentine-002


Well….  Hope you have a wonderful VALENTINE’s DAY!!  And, I can’t help but thinking about the biggest, best valentine of all…

For GOD so LOVED the world that HE GAVE his only son that whoever believes in him should not perish but have everlasting life.   John 3:16.


And, check back on SUNDAY for the Stampin’ UP 25th Anniversary Stamp Set Blog tour!!

blogtour-25years