Okay, So I don’t know how the title has anything to do with the card I made, but I had to use it… cause it was so corny…
Anyway… Welcome back to the Stamp of the Month tour…. This month we are using the Ronald McDonald House Charities Set called “Tag It”. This set is special because $3 from the sale of the set is donated to RMHC. It’s so cute, and it’s for a good cause!! This set is $16.95 for clear or $22.95 for wood.
The other great thing about this set is all the images coordinate with the Chalk Talk Framelits. So…. there is a matching cut-out for each one…to make it a tag!! How great is that??!!??
So, here is the card I made. I was kinda of drawn to the Christmas image. It’s August. I know, but we are already starting to think about our Christmas Stamp Classes and just, well, hum. I don’t know. I just decided to do Christmas. Go put on some Christmas music then come back and finish reading this post…

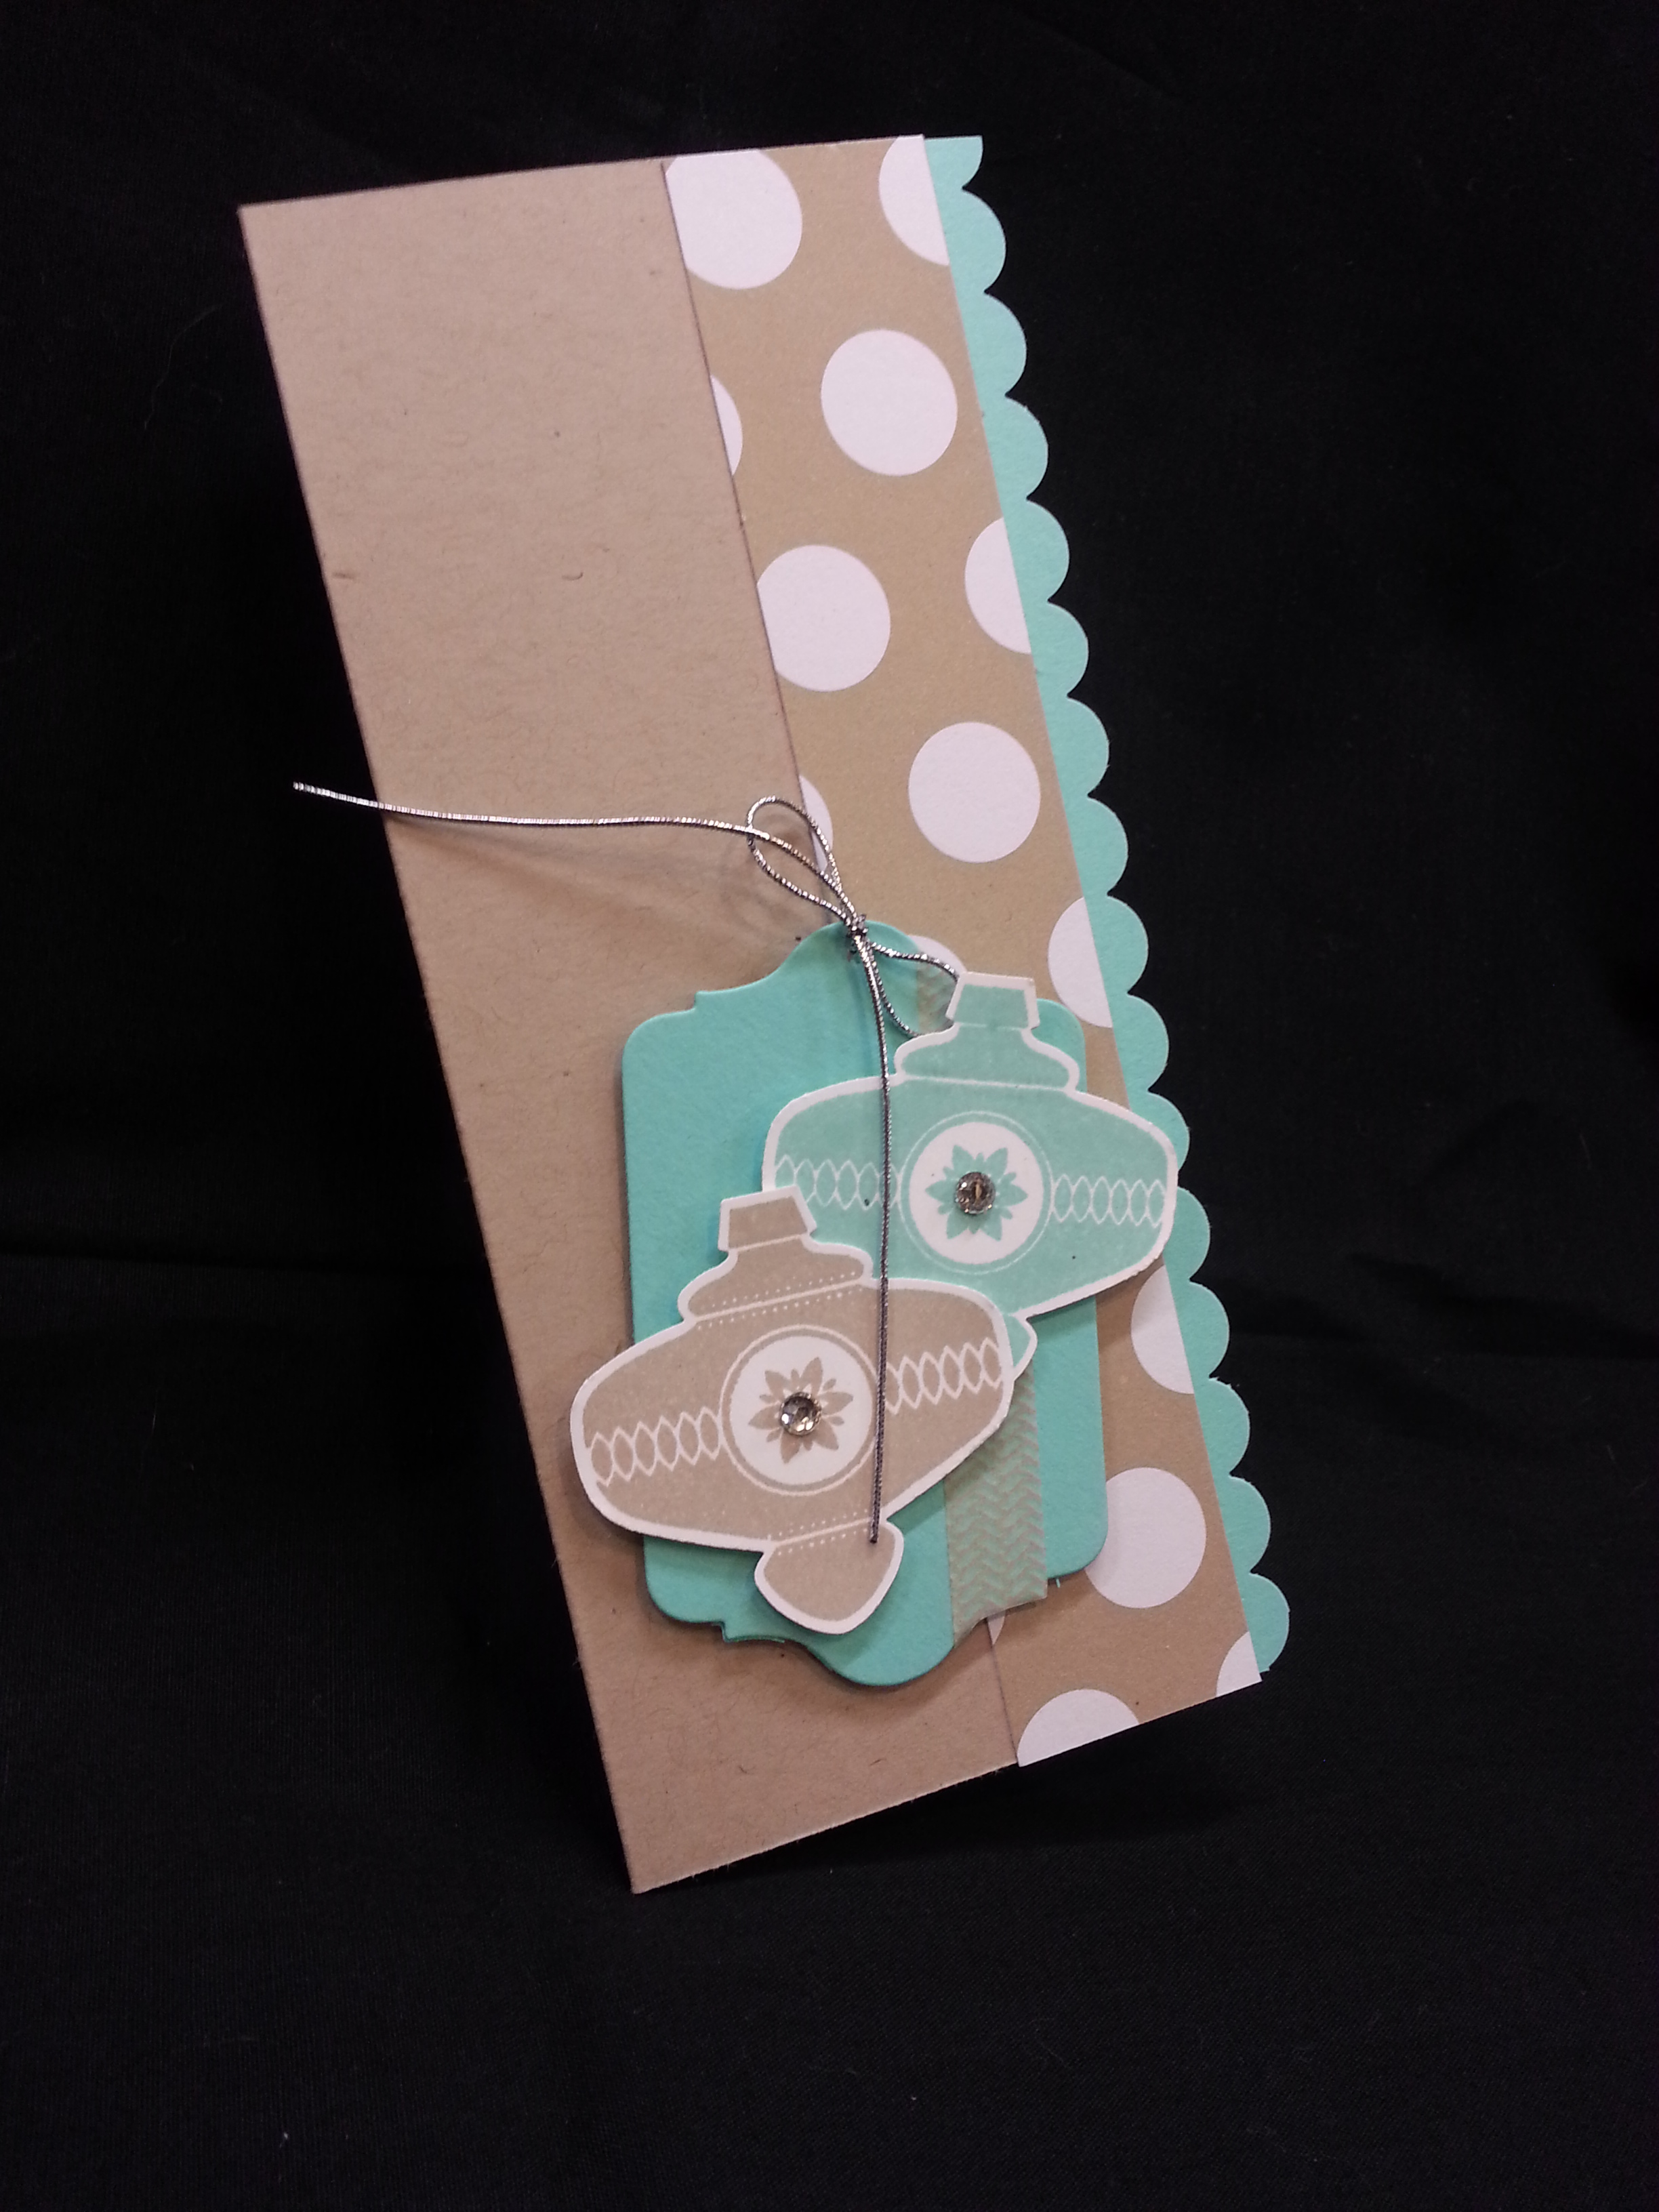
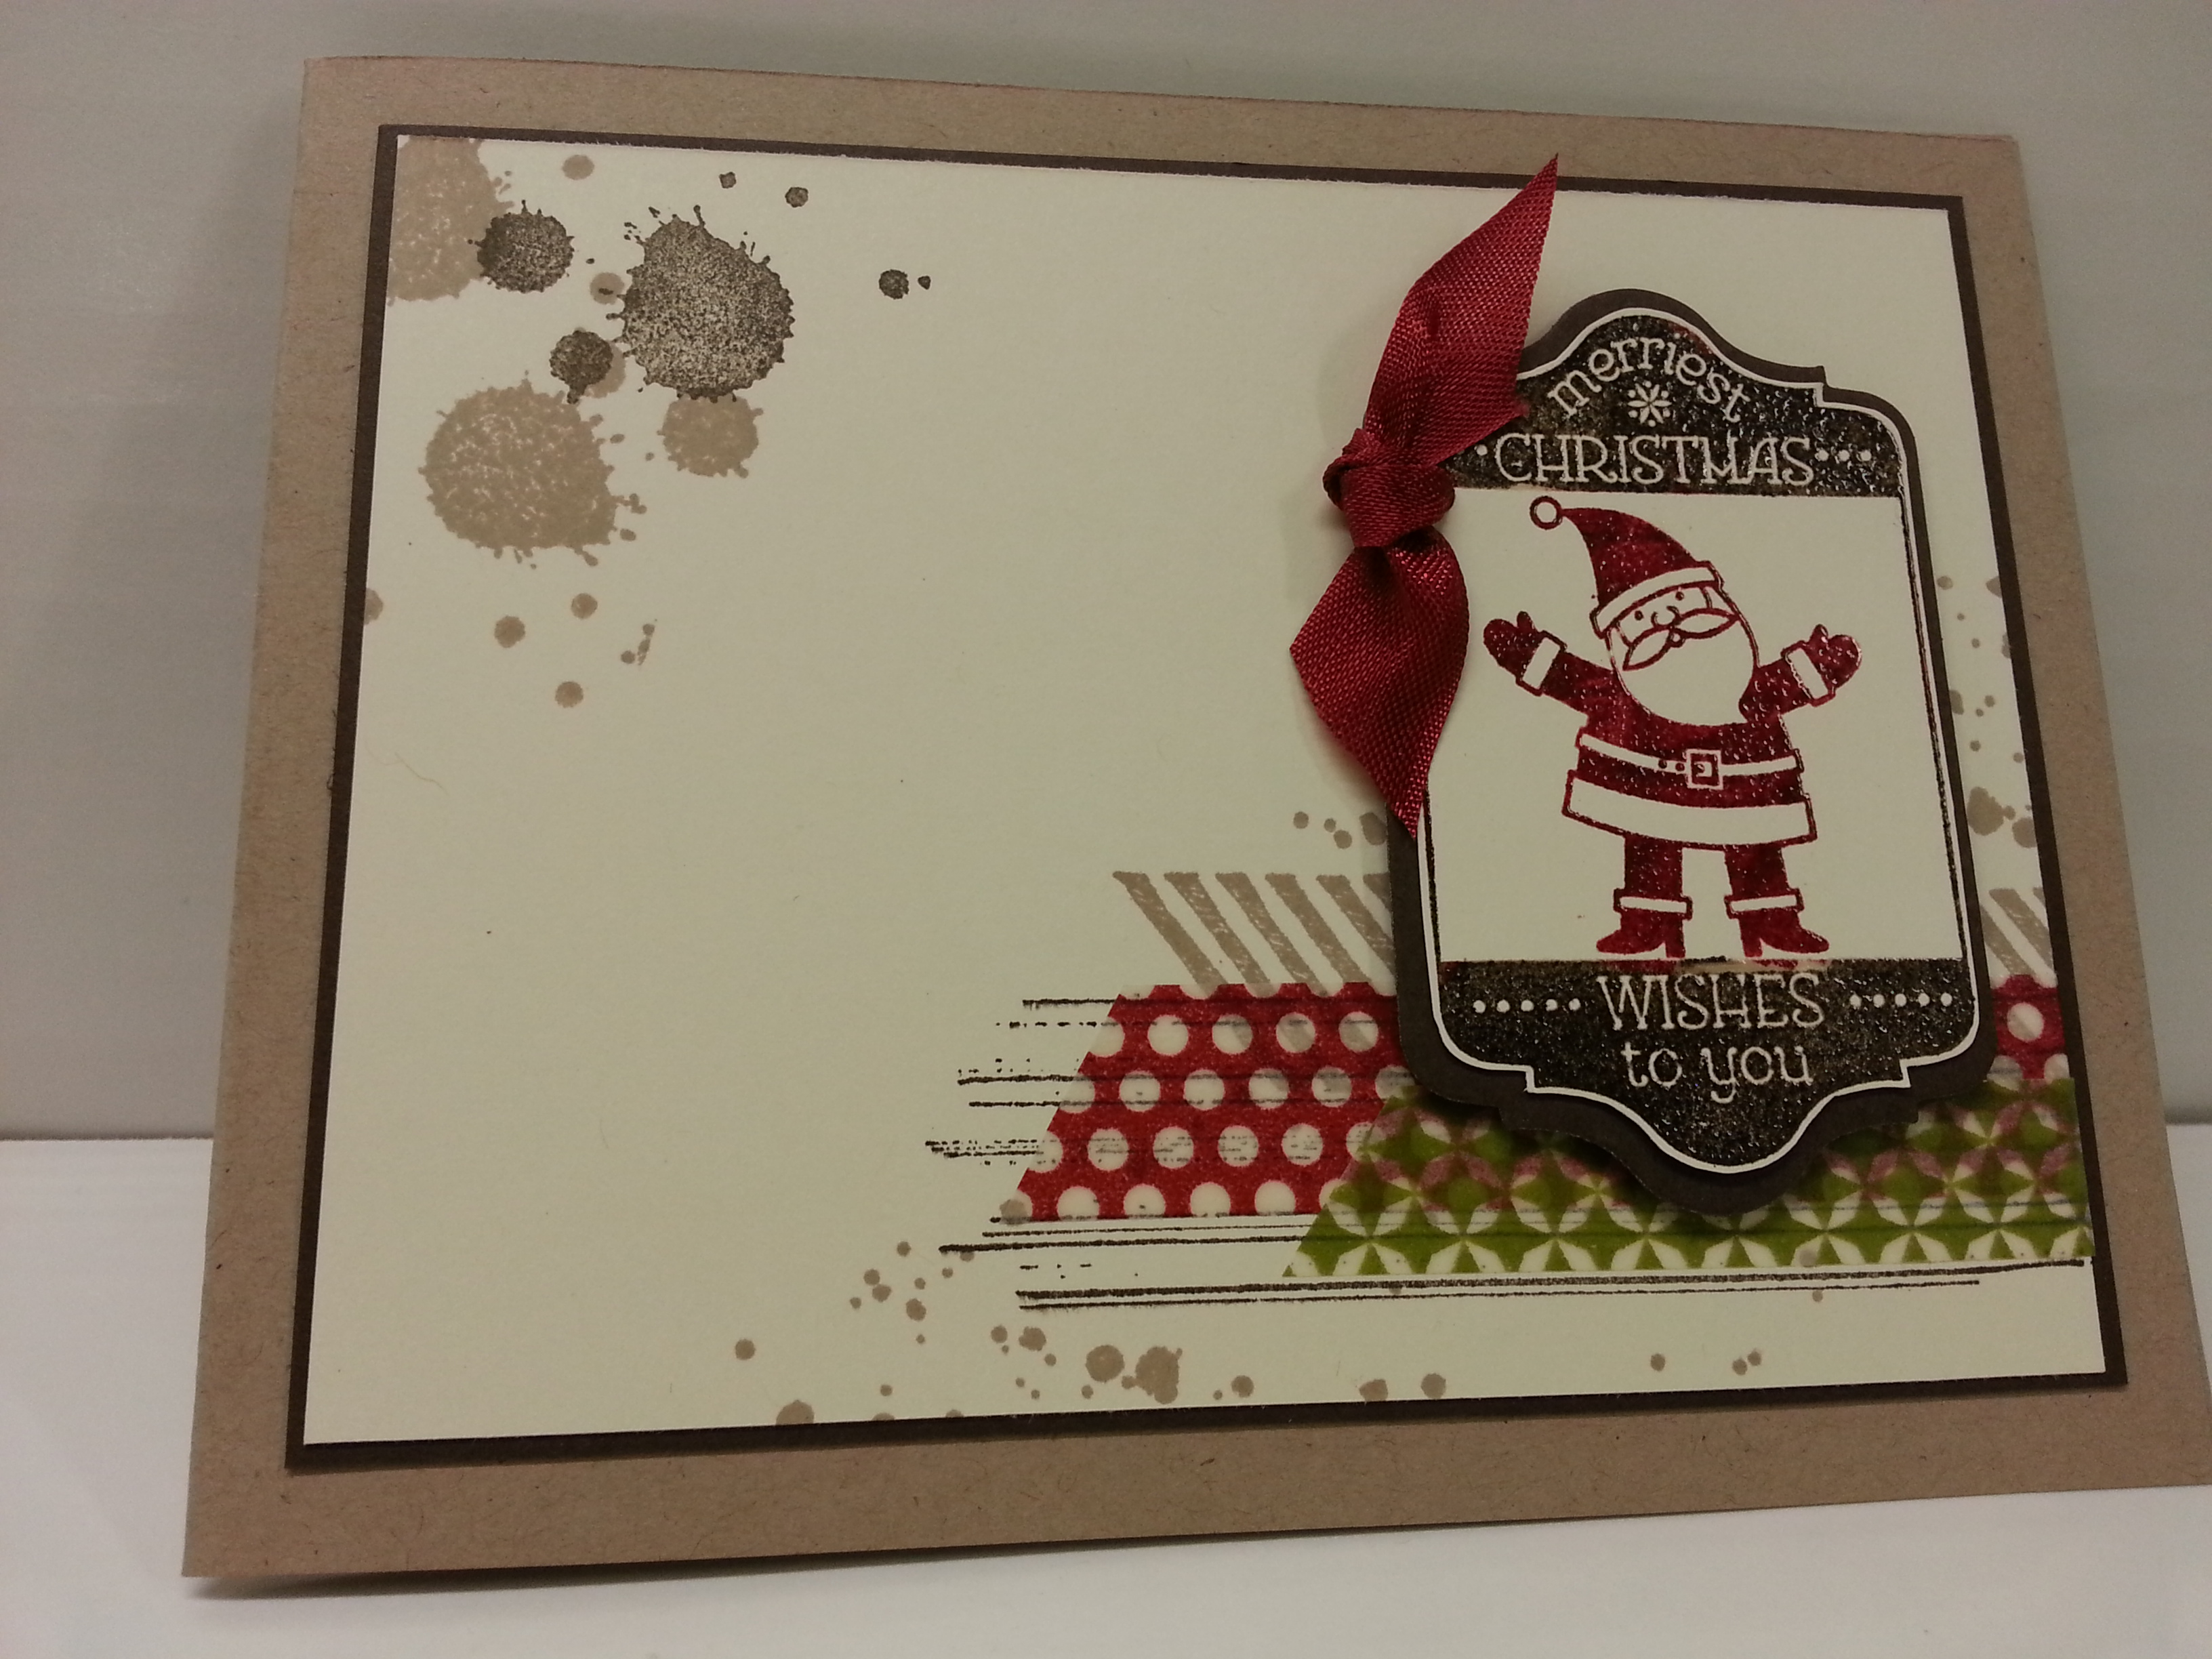
So, there you have it… My Christmas Card in August. I decided I wanted to maker a card, as opposed to a set of tags, so I decided I needed some other images to play with. Gorgeous Grunge to the rescue. We got this stamp set as part of or Convention goodies, and I gotta say, I had trouble WAITING till convention to get it. It makes such glorious background stuff. And, WASHI. I am truly, honestly, and FULLY in LOVE with WASHI TAPE. It’s so easy to use. And, that’s the SU washi in the Christmas Colors (p. 25 in the Holiday Catalog…$4.95 for 3 rolls…which is a STEAL). Anyway, The inks I used in the background were Early Espresso and Crumb Cake. I wanted to keep it neutral and use the washi to add color. I love that it is a little see-through. This makes it real fun to layer.
For the card I used Crumb Cake and then layered with Early Espresso. I stamped on Very Vanilla.

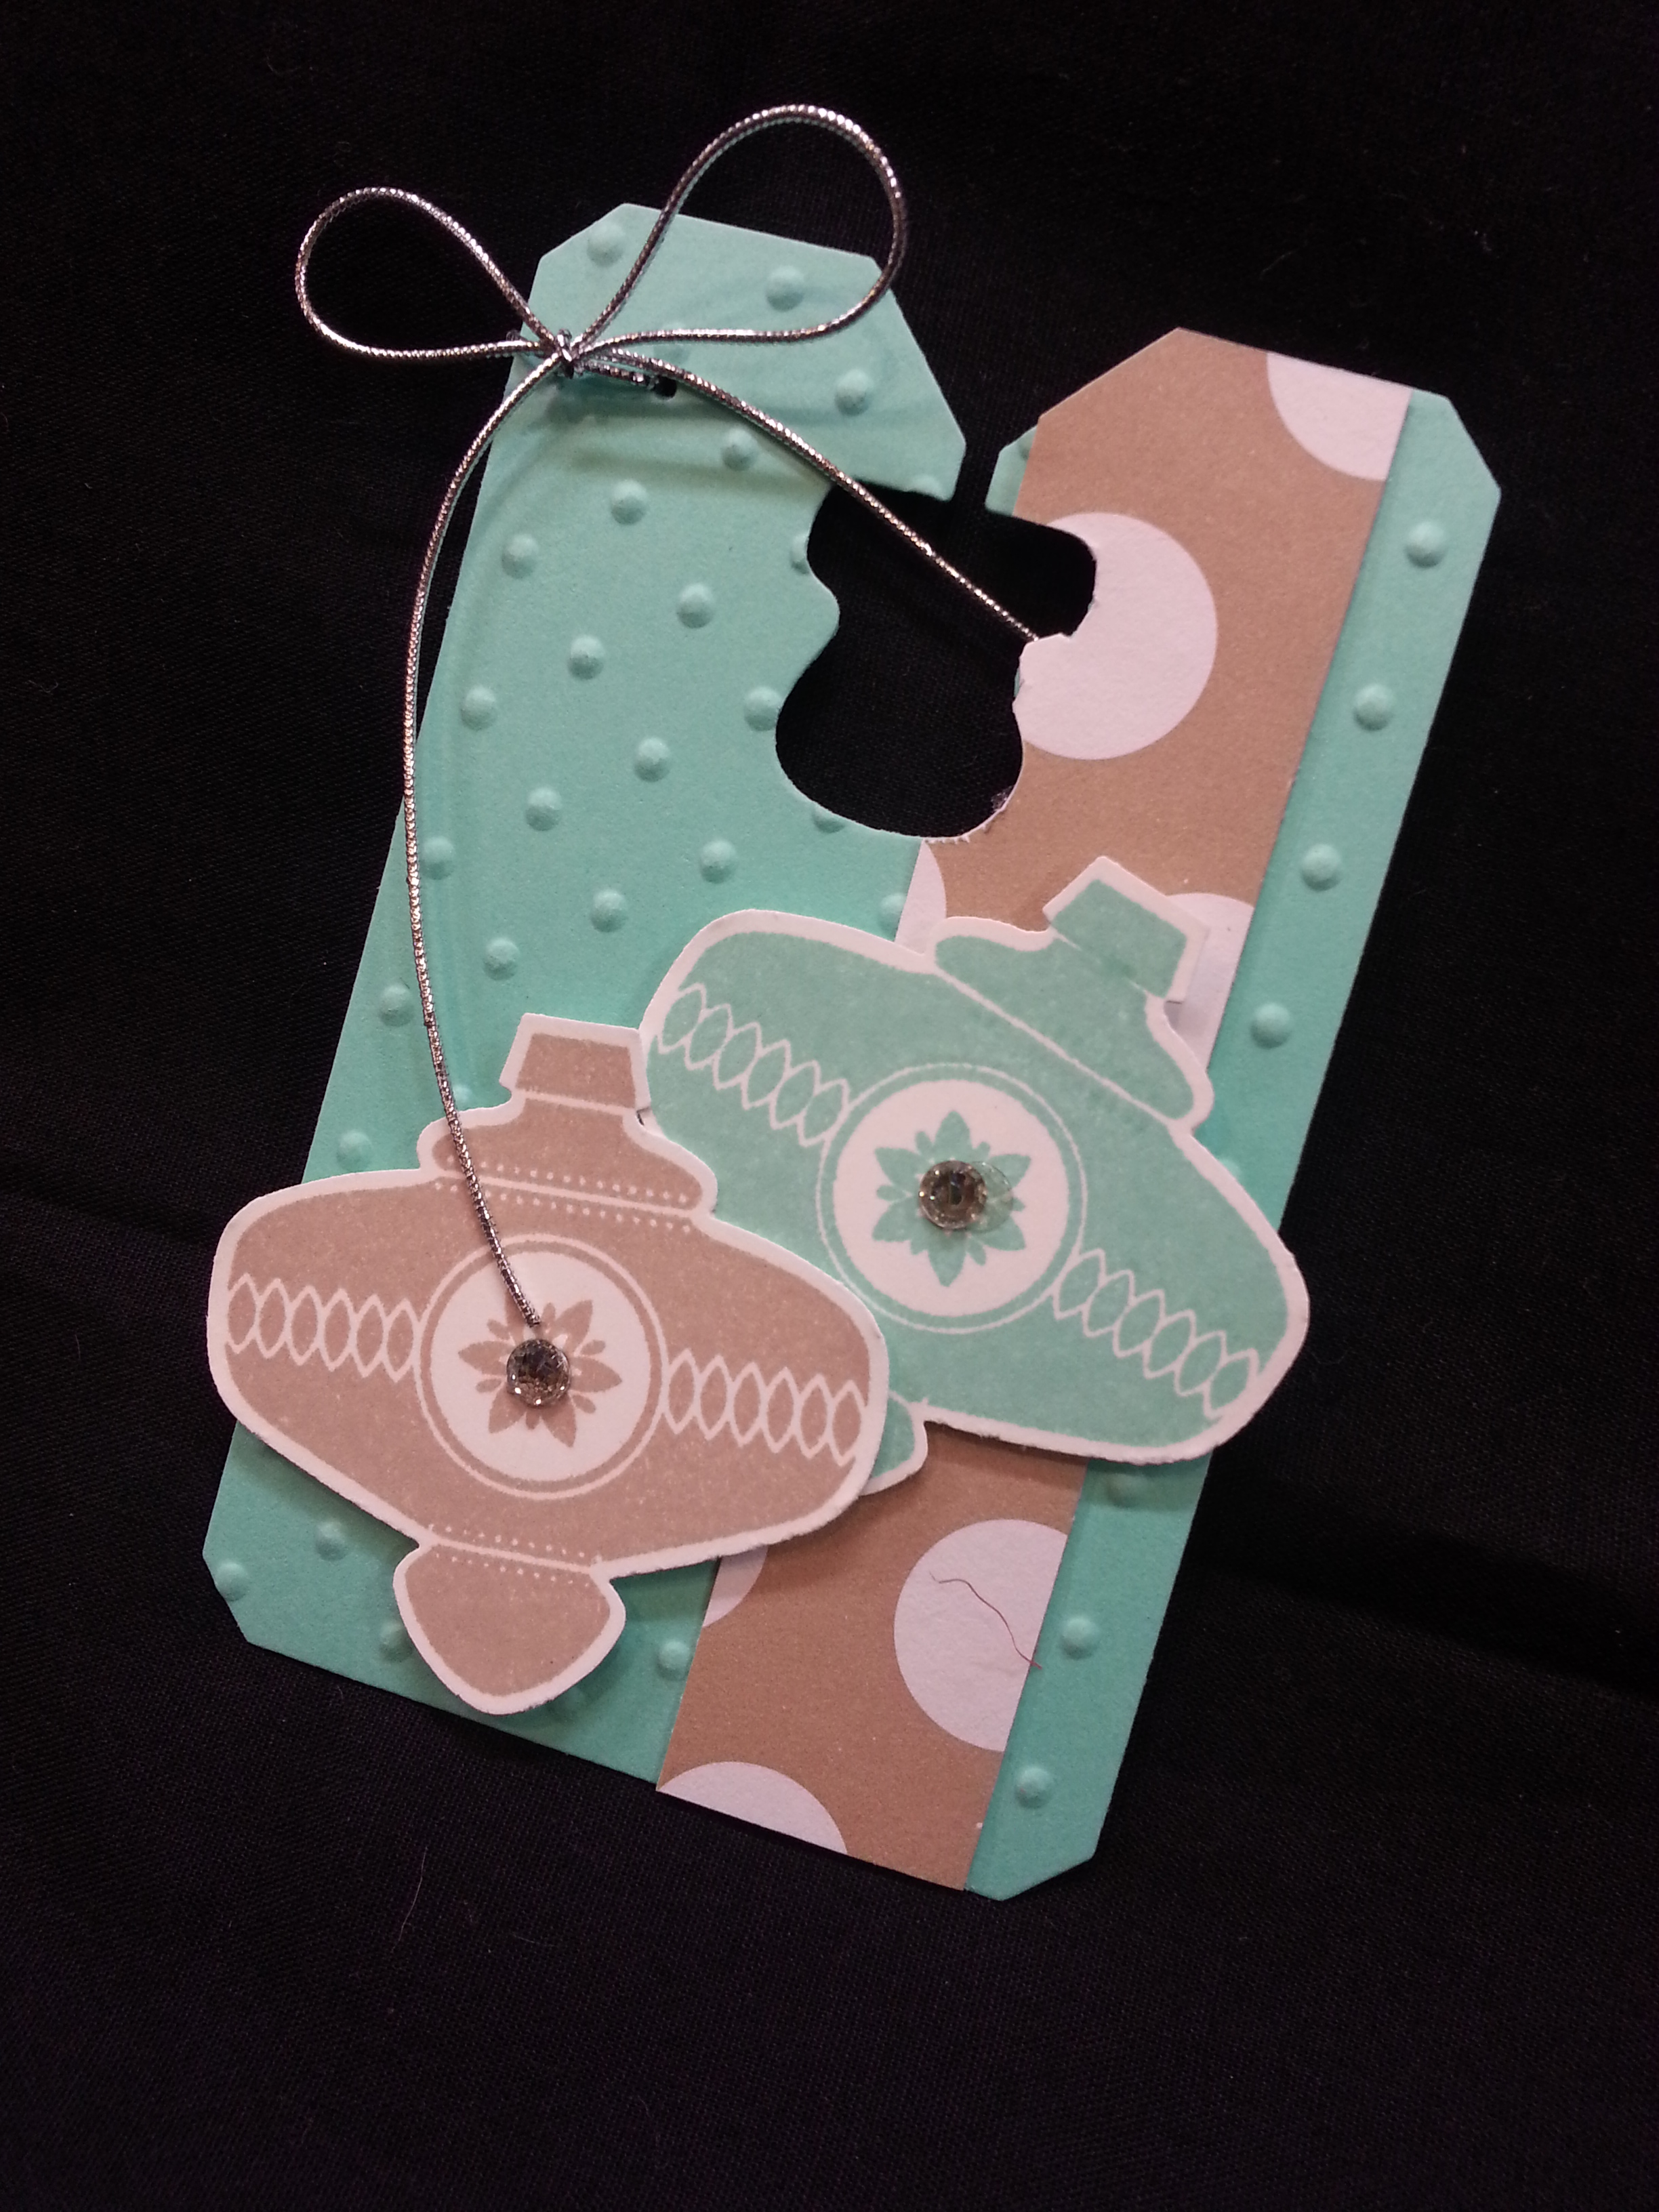
Close up of the tag. You can kinda see my flub up there…. here’s why…

Can you see in the light that it is embossed? I wanted it embossed, but wanted it TWO colors. And, really didn’t want to have to cut out stuff. SO…. I wanted to clear emboss over ink. And you typically would do this by stamping your stamp in the versamark ink, then into the color ink. But, cause I wanted 2 colors, I decided to try and marker it after stamping in the versamark. Don’t do that. It doesn’t work. I had to get creative with how I used the ink pad and ink the image with the edges and corners of the ink pads. That’s why the flub. And, this happened:

See the red seam binding? It’s cleverly disguising a red spot on the image, where I dropped the stamp into the red stamp pad after having the espresso ink on it already. (BTW: the red is Cherry Cobbler). And, I like the cherry cobbler seam binding on the card. Don’t you just love happy accidents? Anyway, back to embossing…. stamp the image in versamark, cleverly apply the ink from the other stamp pads, then sprinkle with clear embossing powder and emboss. I decided to hand trim the image out because I wanted to be able to layer it onto the espresso tag that I made with the coordinating framelit… so, yes, I cut it by hand…

SO. Now. TAG. YOU’RE IT. It’s your turn to play with this wonderful stamp set, give to charity (when you order the set) and make some fantastic projects with it!! But, wait…. finish the blog tour of course!!
Your next stop is Deb Leigh. Click on the button below…

If that doesn’t work, you can use the list below to go on to the next blog…